Creating New Data with Generative Models in Python

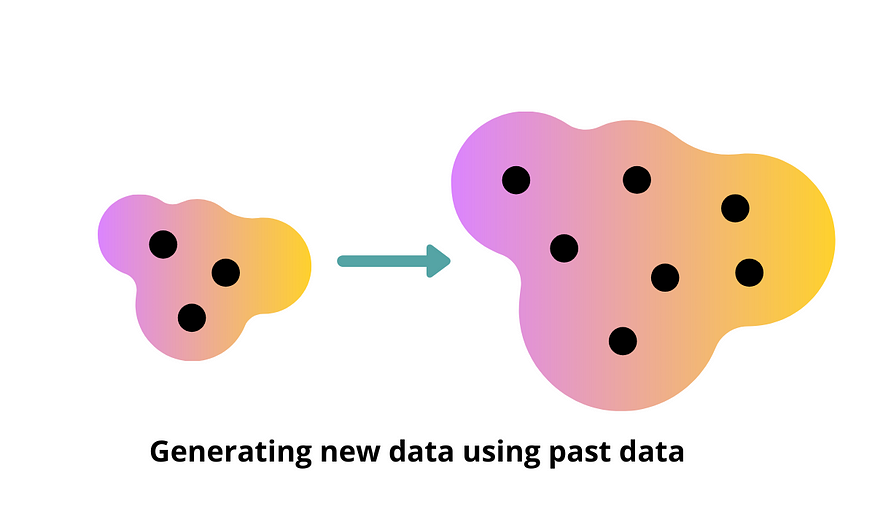
Generative models are a type of machine learning model that can create new data based on the patterns and structure of existing data. Generative models learn the underlying distribution of the data and can generate new samples that are similar to the original data. Generative models are useful in scenarios where the data is limited or where the generation of new data is required.
Generative Models in Python
Python is a popular language for machine learning, and several libraries support generative models. In this tutorial, we will use the Keras library to build and train a generative model in Python.
Import Libraries
We will start by importing the necessary libraries, including Keras for generative models, and NumPy and Matplotlib for data processing and visualization.
import numpy as np
import matplotlib.pyplot as plt
from keras.layers import Input, Dense, Reshape, Flatten
from keras.layers.advanced_activations import LeakyReLU
from keras.models import Sequential, Model
from keras.optimizers import Adam
Load Data
Next, we will load the data to train the generative model.
# Load data
(x_train, y_train), (_, _) = tf.keras.datasets.mnist.load_data()

# Normalize data
x_train = x_train / 255.0
# Flatten data
x_train = x_train.reshape(x_train.shape[0], -1)
In this example, we load the MNIST dataset and normalize and flatten the data.
Build Generative Model
Next, we will build the generative model.
# Build generative model
def build_generator():

# Define input layer
    input_layer = Input(shape=(100,))
    # Define hidden layers
    hidden_layer_1 = Dense(128)(input_layer)
    hidden_layer_1 = LeakyReLU(alpha=0.2)(hidden_layer_1)
    hidden_layer_2 = Dense(256)(hidden_layer_1)
    hidden_layer_2 = LeakyReLU(alpha=0.2)(hidden_layer_2)
    hidden_layer_3 = Dense(512)(hidden_layer_2)
    hidden_layer_3 = LeakyReLU(alpha=0.2)(hidden_layer_3)
    # Define output layer
    output_layer = Dense(784, activation='sigmoid')(hidden_layer_3)
    output_layer = Reshape((28, 28))(output_layer)
    # Define model
    model = Model(inputs=input_layer, outputs=output_layer)
    return model
generator = build_generator()
generator.summary()
In this example, we define a generator model with input layer, hidden layers, and output layer.
Train Generative Model
Next, we will train the generative model.
# Define loss function and optimizer
loss_function = 'binary_crossentropy'
optimizer = Adam(lr=0.0002, beta_1=0.5)

# Compile model
generator.compile(loss=loss_function, optimizer=optimizer)

# Train model
epochs = 10000
batch_size = 128

for epoch in range(epochs):

    # Select random real samples
    index = np.random.randint(0, x_train.shape[0], batch_size)
    real_samples = x_train[index]

    # Generate fake samples
    noise = np.random.normal(0, 1, (batch_size, 100))
    fake_samples = generator.predict(noise)

    # Train generator
    generator_loss = generator.train_on_batch(noise, real_samples)

    # Print progress
    print('Epoch: %d, Generator Loss: %f' % (epoch + 1, generator_loss))
In this example, we define the loss function and optimizer, compile the model, and train the generator model on real and fake samples.
Generate New Data
Finally, we can use the trained generator model to generate new data.
# Generate new data
noise = np.random.normal(0, 1, (10, 100))
generated_samples = generator.predict(noise)

# Plot generated samples
for i in range(generated_samples.shape[0]):
    plt.imshow(generated_samples[i], cmap='gray')
    plt.axis('off')
    plt.show()
In this example, we generate 10 new data samples using the trained generator model and plot the samples.
In this tutorial, we covered the basics of generative models and how to use them in Python to create new data based on the patterns and structure of existing data. Generative models are useful in scenarios where the data is limited or where the generation of new data is required.
I hope you found this tutorial useful in understanding generative models in Python.
Lyron Foster is a Hawai’i based African American Author, Musician, Actor, Blogger, Philanthropist and Multinational Serial Tech Entrepreneur.

